Building Music Visualizers
What We Are Building
Let's build a YouTube music visualizer with Mosh-Pro. One preset, one track: a video clip underneath, a bar visualizer, a logo and a caption. Every part of it reacts to the audio rather than looping on a timer.
Load the Base Media First
The base media is whatever the effects run on top of - a still image, or a short video loop that keeps moving under the effects. For this demo we are using a video loop timed to the bar length of the music, but it can just as easily be a still image or any loop at all - the effects are what keep it interesting over time, not the footage.
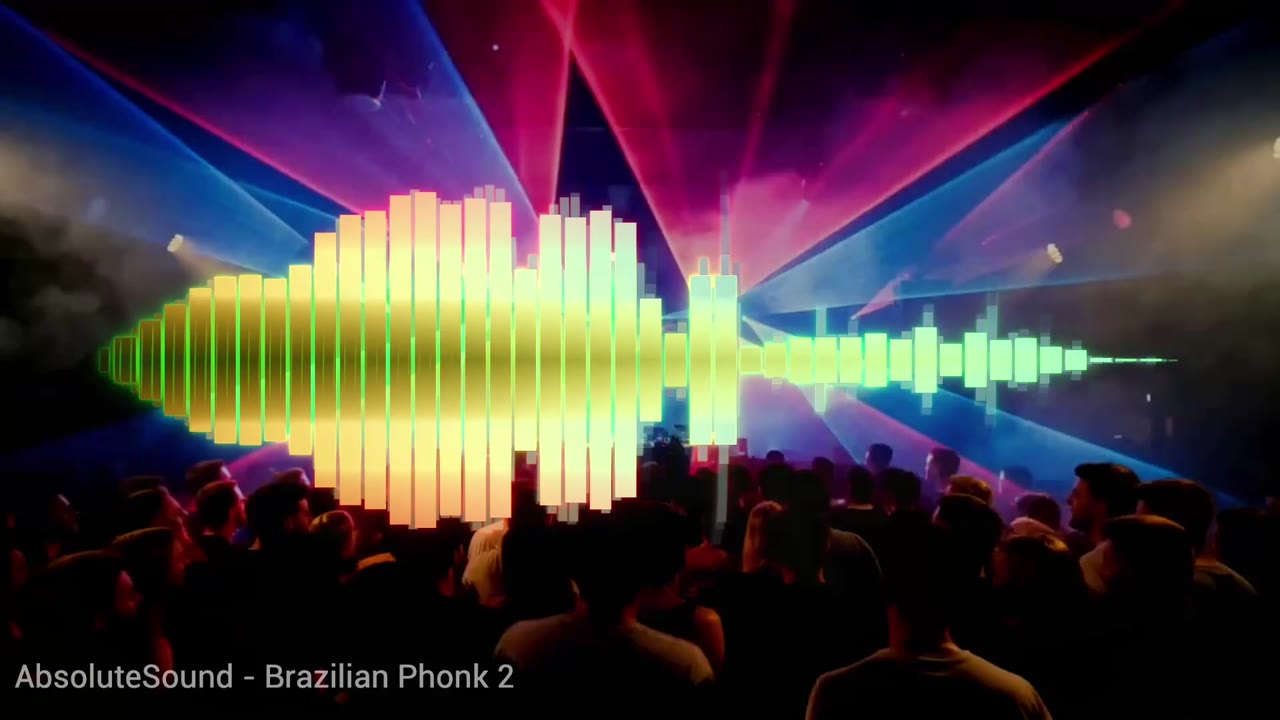
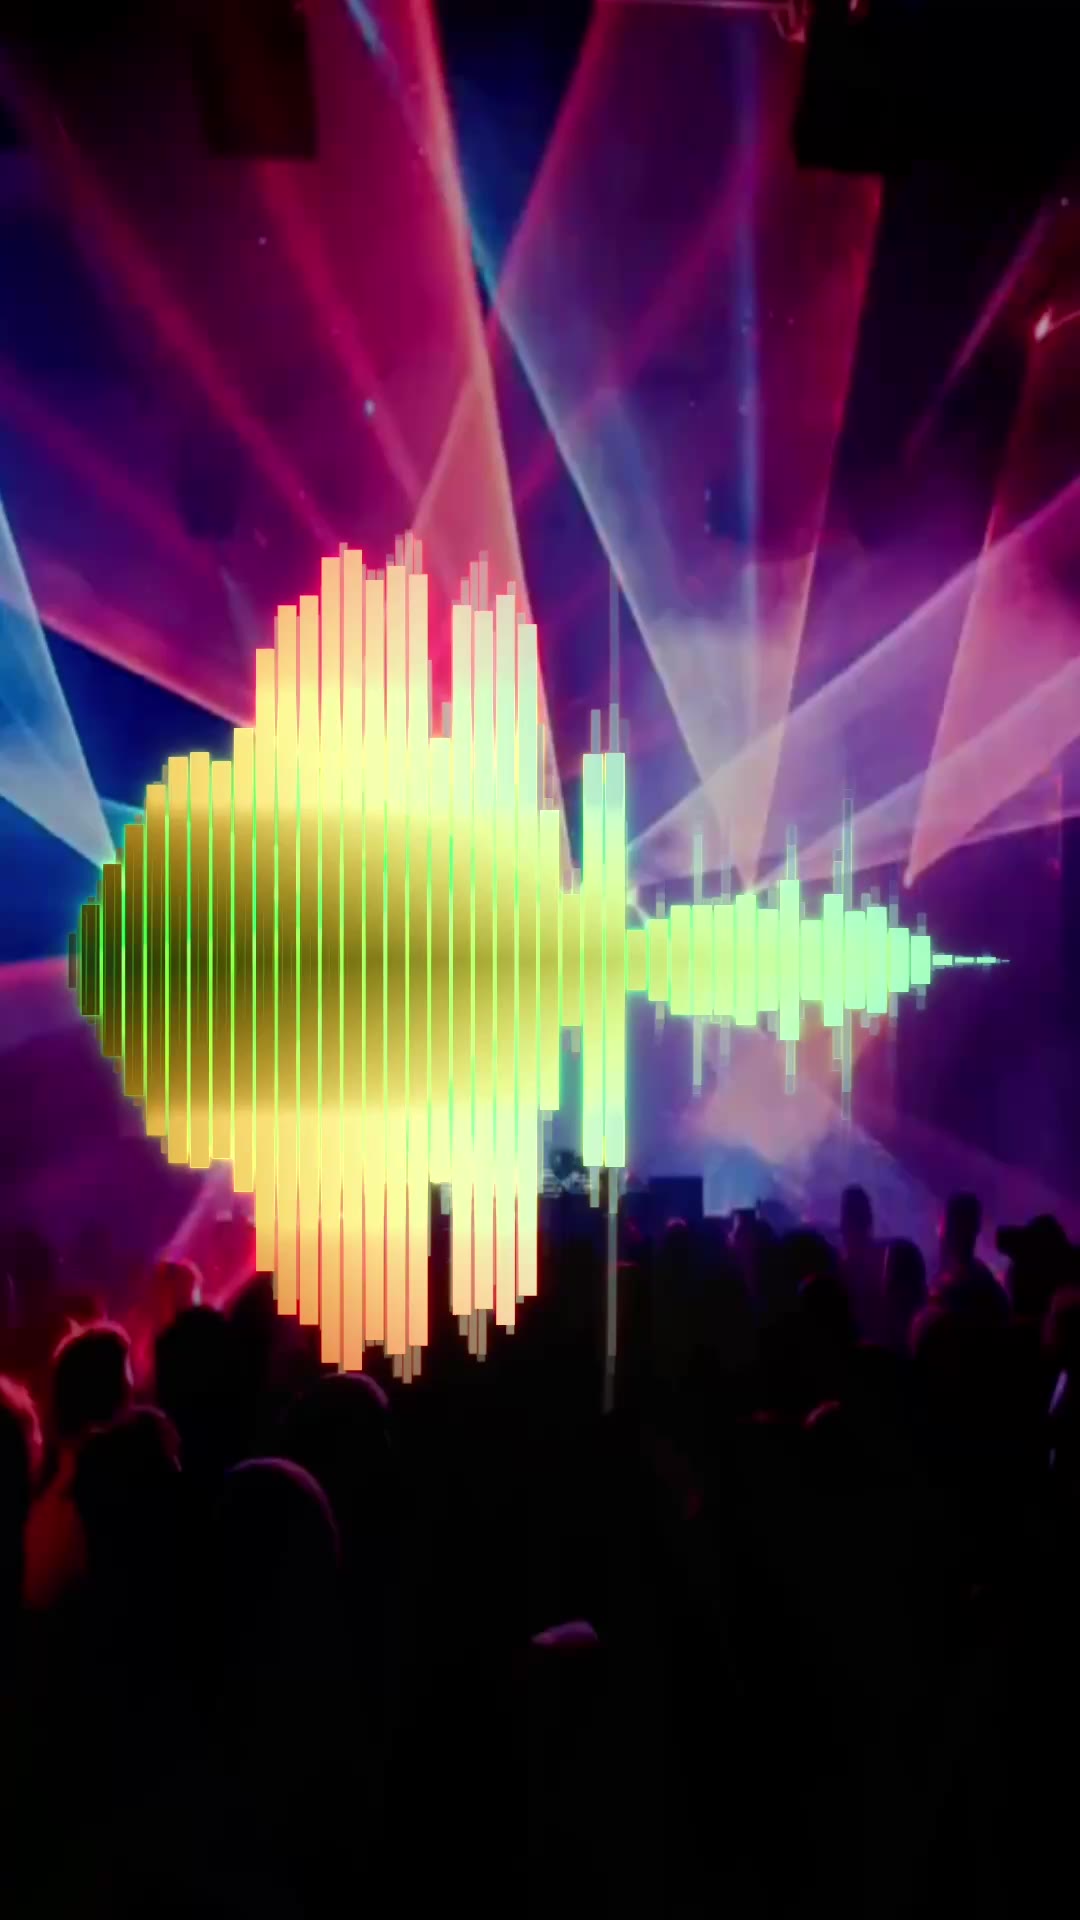
Change the dimensions at any time with Settings → Export: a piece usually ships twice, 1920 × 1080 for YouTube and 1080 × 1920 for Reels, TikTok and Shorts. Uncheck Maintain Aspect Ratio to type an arbitrary pair - an Instagram feed post is 1080 × 1350, and a square is 1080 × 1080.
Mosh-Pro resizes effects and media to match the export size, so one preset covers every format. Aspect ratio changes are the exception: a layout balanced for a wide frame rarely lands the same way in a tall one, so you might need to scale some elements with the Transform effect.
Load the Audio
With the base media in, the audio is next - it drives everything, so set it before you add any effects. Settings → Audio → Audio Input has three sources:
| Video | the input clip's own audio track. |
|---|---|
| File | an external MP3, WAV, M4A, OGG or FLAC. Overrides the video's audio. |
| Mic | live input. The Export button becomes Record. |
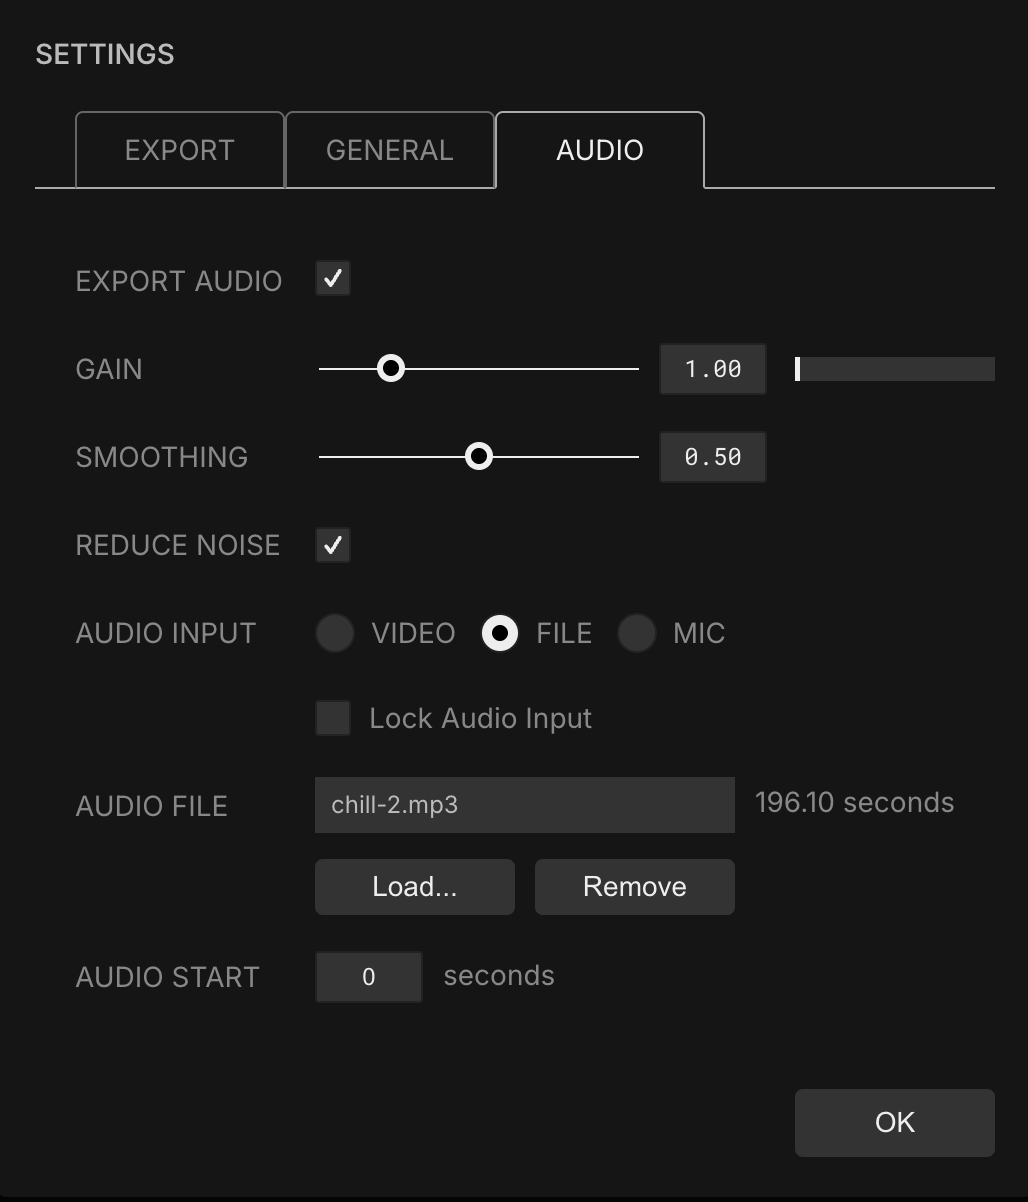
- Gain scales how hard the input pushes the modulators - up for a quiet master, down when everything is pinned at maximum.
- Smoothing sets how fast levels can change: high for slow swells, low for sharp per-beat hits. It makes much of the difference between a visualizer that feels tight and one that feels mushy.
- Audio Start plus the export duration pulls a loop from the middle of a track.
Audio Modulators
A modulator drives an effect parameter over
time instead of holding a fixed value. Click the sine-wave button
 beside any slider, set Type to
audio, and that parameter follows the input volume.
Freq picks which part of the spectrum it listens to:
beside any slider, set Type to
audio, and that parameter follows the input volume.
Freq picks which part of the spectrum it listens to:
| all | overall level. Everything moves together. |
|---|---|
| low | the kick. For anything that should punch on the beat. |
| mid | melody and vocal. Slower movement. |
| hi | hats and cymbals. Fast and sparkly. |
| cust | a band you draw yourself. |
Custom Frequency Bands
The named bands are broad. To catch one element - a synth stab, the snare and not the kick - set Freq to cust and drag a rectangle across the spectrum below.
Horizontal position and width pick the frequency range. Vertical position and height set the amplitude window - the loudness range that maps onto Min and Max. Narrow it vertically and the modulator ignores everything until a sound crosses a threshold.
Right-click the modulator button to copy and paste a modulator between parameters.
Min and Max set the range the parameter travels. Left at 0 to 1, most effects will blow out at the top of the range - the Bulge here runs 0 to 0.37, so the frame breathes on the beat.
BPM Timing
Audio modulators react to the track. The rest - sine, bounce, step, noise - run on their own loop clock, which by default runs on a 4 second loop. To sync to the BPM, turn on Settings → General → BPM and that clock becomes one bar: 2.0 seconds at 120 BPM.

Type the BPM in, or click BPM Tap on each beat - eight taps gets close. Stop for two seconds and the next tap starts a fresh count. To read the tempo from live audio try this BPM tracker. To check you have it right, watch the two dots beside the BPM field while the track plays.
Bounce is the shape to reach for once the clock is locked to the bar. It snaps up fast and eases back down, which is the shape a hit actually has - the attack lands on the beat and the tail decays before the next one,
| bounce | hits on the beat and decays before the next one. |
|---|---|
| sine | sways through the beat instead of landing on it. |
| linear | ramps up and snaps back to the start. A sawtooth. |
| noise | a smooth random wander, never the same twice. |
Switching Effects On the Bar
A step modulator only outputs 0 or 1. Put one on an effect's Amount with Loop checked and the effect snaps in and out in time rather than fading. One step is a whole on-then-off - Speed sets how many of those fit in a bar.
| Speed 0.25 | one step per bar - two beats on, two off. The slowest useful setting. |
|---|---|
| Speed 0.5 | one step every two beats. |
| Speed 1 | one step per beat. |
| Speed 2 | two steps per beat - eighth notes. Strobing rather than switching. |
You can use a similar technique to randomize params in time to the beat. Use a rand modulator with Loop checked. At Speed 0.25 you get a new value per bar.
Keyframes for Verse and Chorus
A short clip works with one look, but a longer track wants some variety. Use the keys type to manually enter keyframes. Switch between 0 and 1 on a group's Opacity to toggle the whole group.
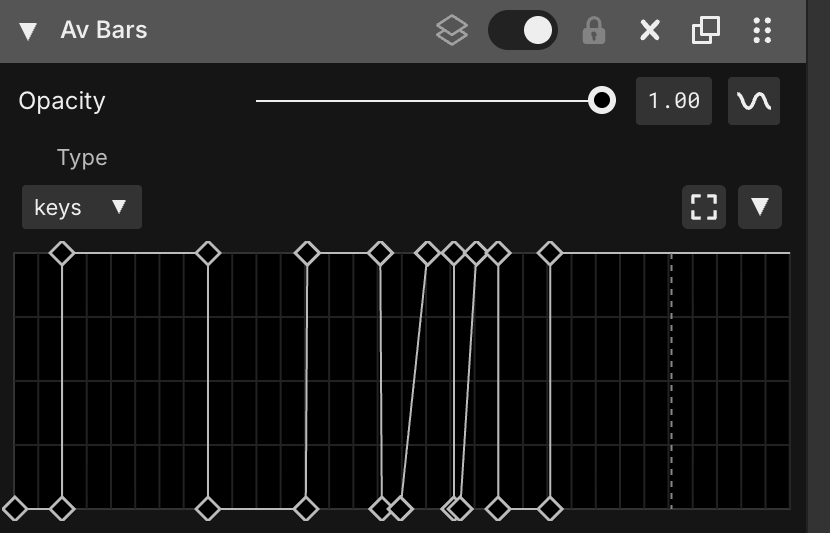
Build one group per section - heavy glitch for the chorus, restrained for the verse - and keyframe their opacities as mirror images so one hands over to the other.
For more control, work in the Expanded Keyframe
Editor under the preview rather than the small one on the
modulator itself. Click the expand button
 on any keyframed modulator to open it. This allows you to easily switch between all keyframed effects and to move the playhead. Right-click to copy all keys to a different effect.
The Audio Visualizer Effect
Everything so far modulates other effects. The Audio Visualizer draws the audio itself - a bar spectrum rendered into the frame, no modulator needed.
- Bar Count runs 20 to 200 - high counts read as a smooth spectrum, low ones as chunky blocks that hold their shape under other effects.
- Mirror reflects around the centre.
- Radial wraps the spectrum into a ring pointing outward from the centre, which suits a central logo. Mirror keeps the ring symmetrical.
- Edge Damp pulls the outer bars down so the shape tapers.
- Color 1-3 are the gradient, low to high.
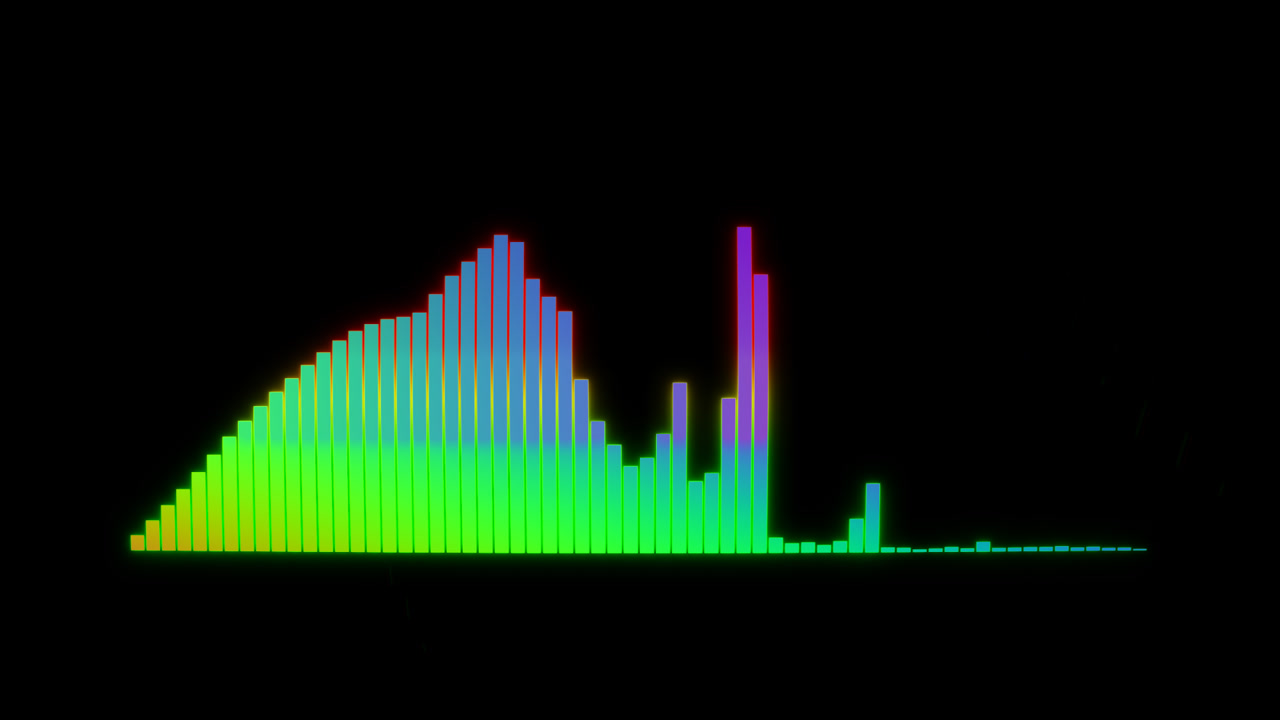
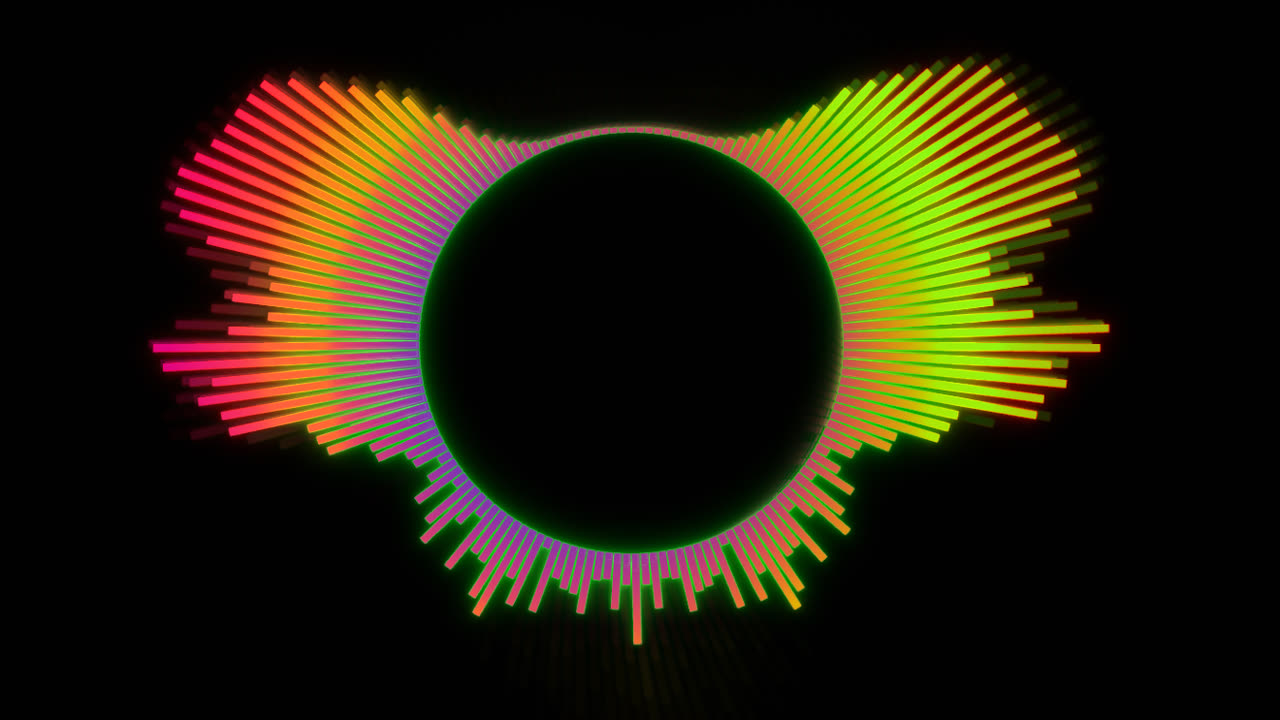
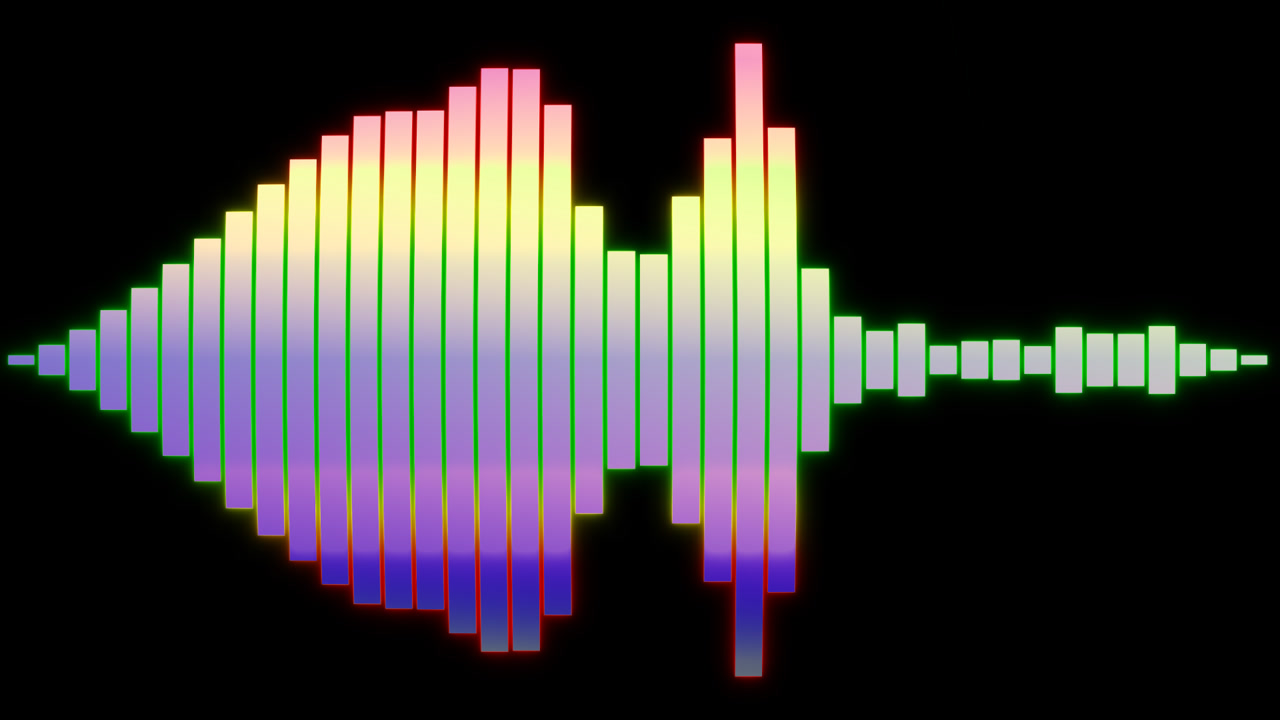
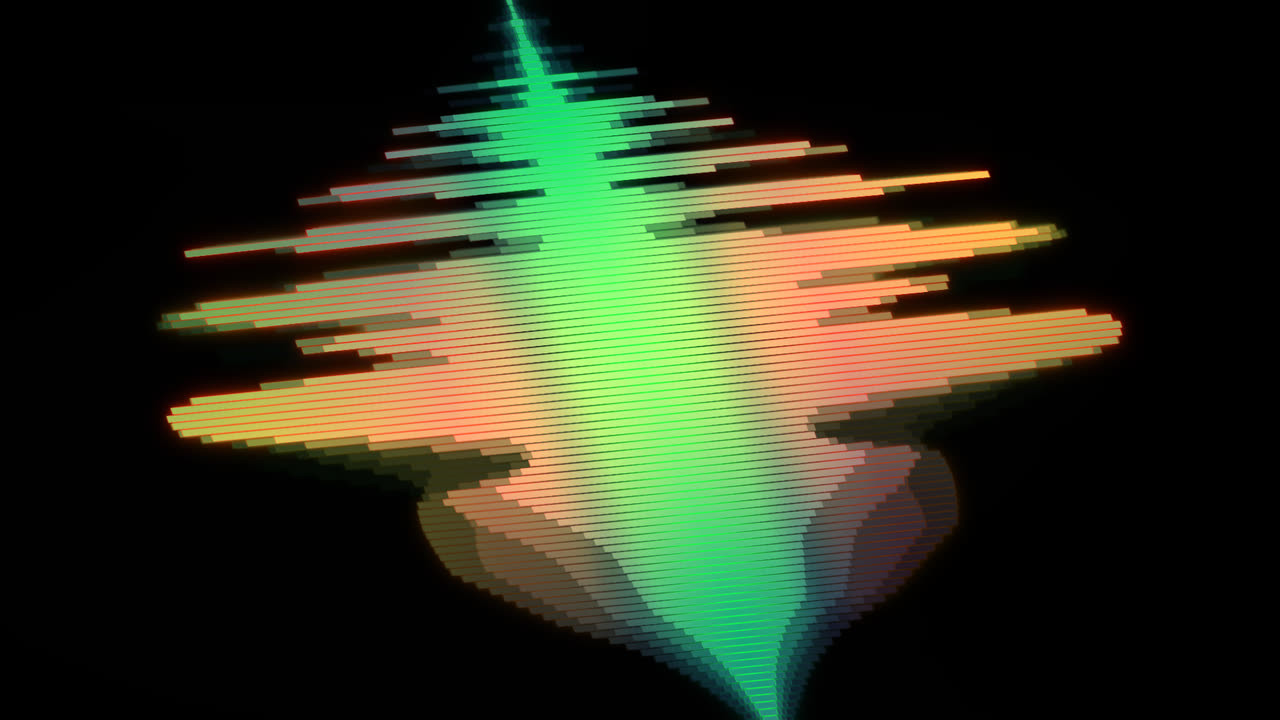
The visualizer on its own is a plain block of bars. Put it in a group with Isolate Effects checked and you can stack effects on the bars alone, leaving the footage underneath untouched.
The Whole Stack, Top to Bottom
Here is the preset from this visualizer in full. Effects run top to bottom, so each one sees the result of everything above it.
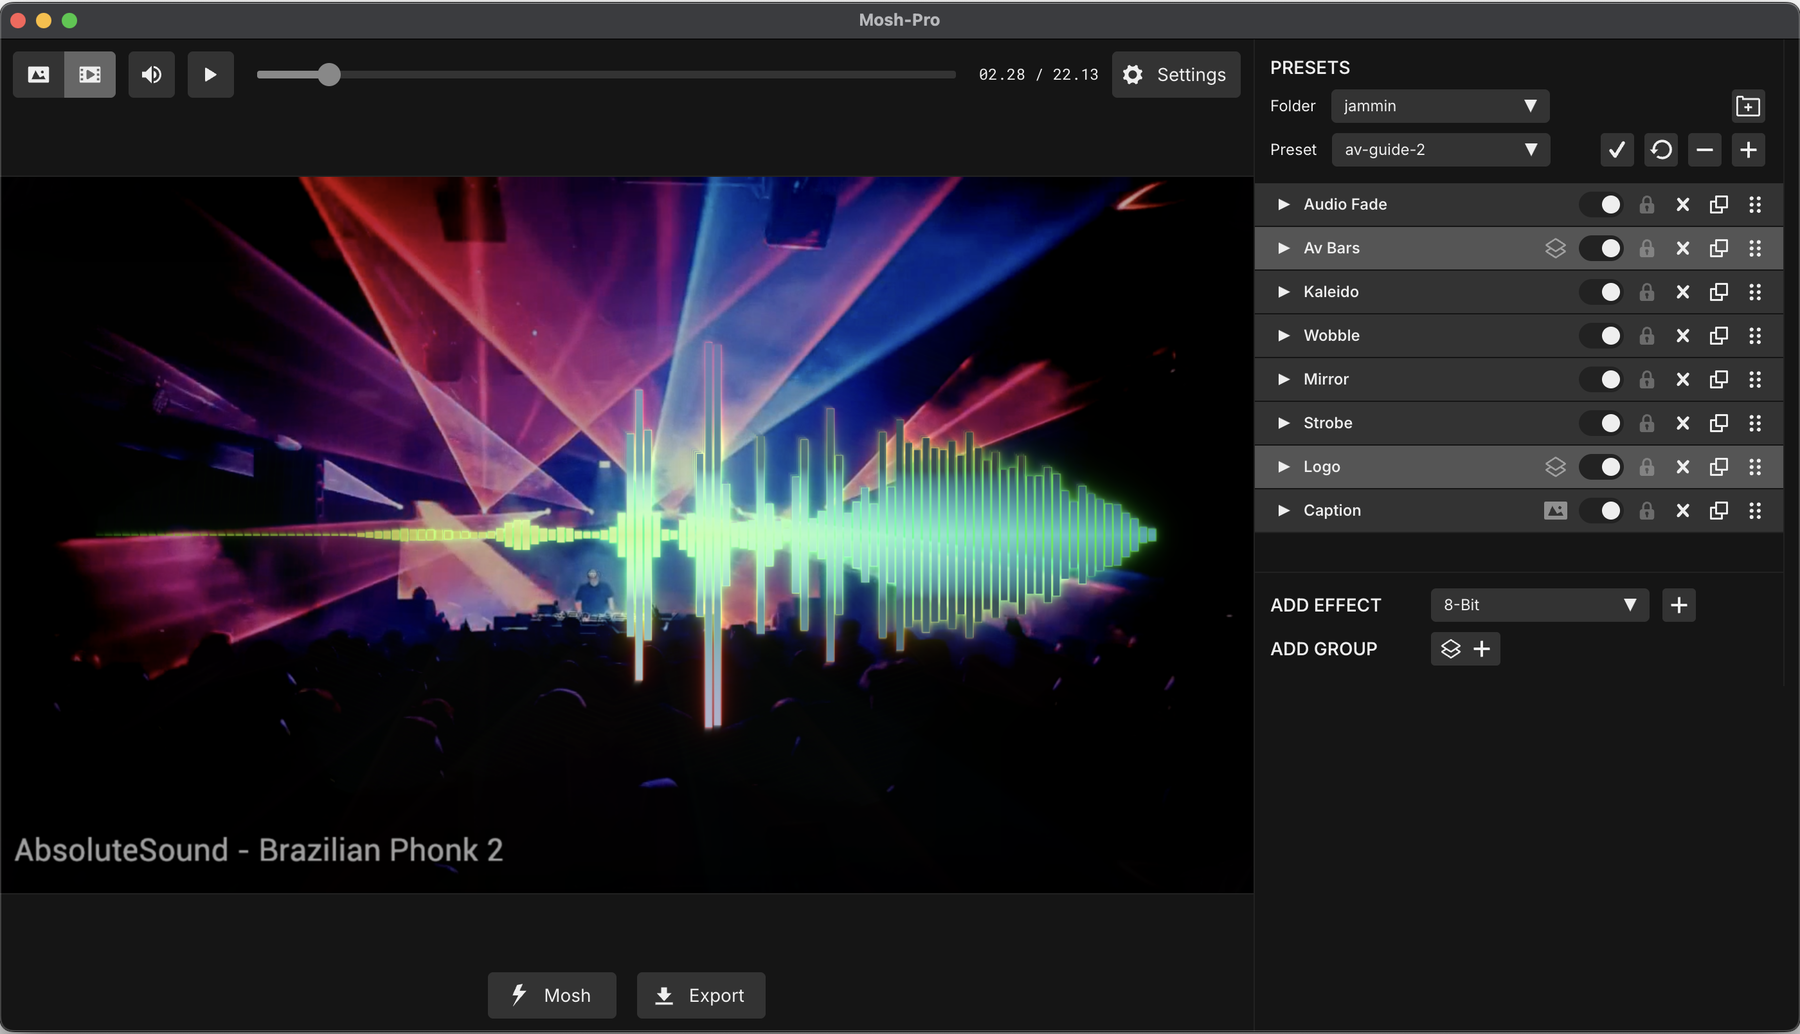
| Audio Fade | a Color Correction sitting on the base video, with Brightness on an audio modulator reading the mids and travelling 0.3 to 0.5. The footage itself breathes with the track before anything is drawn on top of it. |
|---|---|
| Av Bars | a group with its own stack inside - Audio Visualizer, Transform, Bulge, Glow, Rainbow, Feedback. Isolate Effects is on, so all of that lands on the bars and leaves the footage alone. |
| Kaleido, Wobble, Mirror | extra interest, off for most of the track. Each one is keyframed to drop in at a particular point and back out again, so the look changes without the preset changing. |
| Strobe | keyframed to ramp up into the drops. Use it sparingly - it is the loudest thing in the stack and stops reading as an event if it is on all the time. |
| Logo | a second isolated group: the logo image, a Luma Mesh, a Glow, a bounce Bulge and an RGB Shift, in that order. Keyframed in and out against the bars. |
| Caption | last, so nothing distorts it - the track credit, bottom left, at 0.62 opacity. |
Dynamic Brightness
The Audio Fade effect at the top is a great way to make the base layer feel reactive. One Color Correction effect with an audio modulator on Brightness makes the whole frame lift and settle with the music, so everything drawn over it is sitting on something that is already moving.
Keep it light. The range here is 0.3 to 0.5 - a fifth of the slider - and on the mid band rather than the lows, so it swells on the body of the track instead of snapping on every kick. It should read like the lighting in the room breathing, not like a flicker effect. Turn it off and on a few times while the track plays: most people cannot say what changed, but the version without it looks flat.
Logo Group
The logo group uses the Luma Mesh effect on a PNG to give a gentle 3D tilt, as if it were a card turning in space rather than a flat image pasted on the frame. This is combined with a Bulge effect on the beat to make it bounce. In addition we use subtle RGB Shift and Glow effects. We then use keyframed group opacity to drop the logo in and out of the track.
The tilt gives it constant movement, the BPM bounce keeps it in time, and the keyframes give it structure. Any one on its own gets boring; together they carry four minutes.
Extra Interest
To give more visual interest over time, we have 4 extra effects on the base layer that drop in and out via keyframes. The Strobe effect is used sparingly and ramps up during drops.
Try it Out
- audio track, under Settings → Audio
- base media - the image or loop it all runs on
- the BPM of your track, under Settings → General, or the keyframed sections will not line up
- a logo image, in the Media effect inside the logo group
- your own caption text, in the Caption effect at the bottom of the stack
Live VJing with Mosh-Pro
Point the audio input at a mic and the same modulators react to whatever is in the room - visuals behind a live band or DJ, moving with what the room hears rather than a cued timeline. Use an external webcam to mosh a live feed of the performer or the crowd.
MIDI Control
Set a modulator's Type to midi, click Learn, and move a knob. Knobs and sliders map across the parameter's full range; keys use note velocity.
MIDI works in Live mode only - it is not recorded into an export, so record a set with OBS. Driving it from a DAW on the same machine needs MIDI routed back into the system first - on macOS, Audio MIDI Setup. See MIDI Modulators.
You do not need much hardware. Pick up a MIDI controller for around $50 - the KORG nanoKONTROL2 is a nice slim one, and what is in the clip above.
Key Commands
| Cmd-1 … Cmd-9 | jump to the first nine presets. Order them the way you intend to play them. |
|---|---|
| Cmd-→ / Cmd-← | next and previous preset. |
| Cmd-R | random preset - a useful panic button. |
| Cmd-M | Mosh: randomize the current effect values. |
| Cmd-D | disable all effects. The kill switch. |
| Cmd-P | pop the preview out into its own window. |
Preset folders keep set lists apart, so a folder per gig means Cmd-1 through Cmd-9 always land on the right nine.
Working the Dynamics
Ride the room's brightness with the audio. Put a Color Correction at the very bottom of the effect list and give its Brightness an audio modulator. Brightness 0 is neutral and −1 is black, so roughly Min −0.6 to Max 0 darkens the picture through quiet passages and lets it back up on loud ones - which gives the drop somewhere to go.
Strobe is a good one to save for the drop. Keep it on a MIDI knob or a key so you can bring it in on the one and take it straight back out. A few bars goes a long way.
Sending It to a Projector
Cmd-P pops the preview into its own window. Drag it onto the projector or second display and run it full screen, and the effect list, presets and modulators stay on the laptop. Turn on Settings → General → Preview → Always On Top so it cannot slip behind the app.
Working with Other VJ Apps
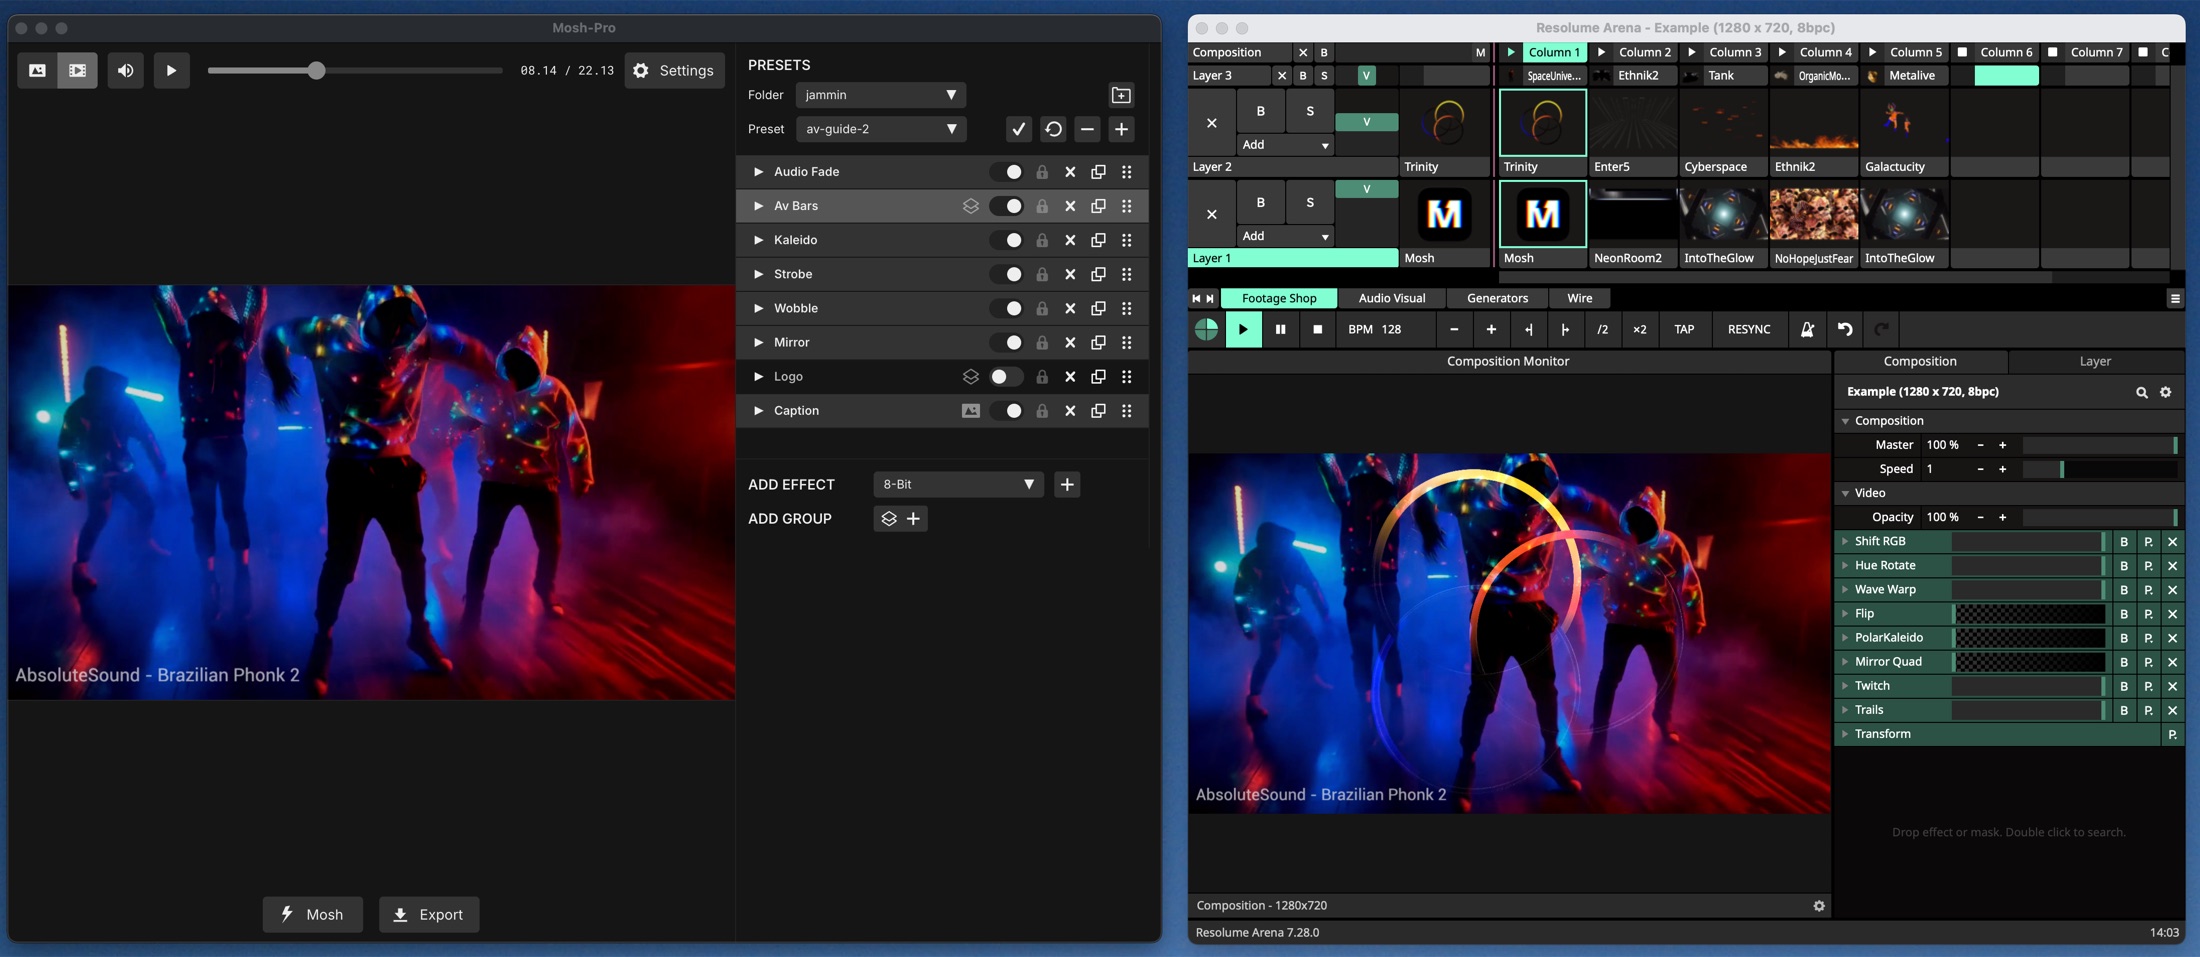
To feed a VJ rig, turn on Settings → General → Send to Spout/Syphon and Mosh-Pro publishes as a live video source to Resolume, VDMX, TouchDesigner or anything else reading Spout or Syphon.
Going the other way, to pull another VJ app into Mosh-Pro, push its output to a virtual webcam and pick that up in Settings → General → Web Cam.
Where to Take It
Any parameter of any effect takes an audio modulator, so none of this is specific to the effects used here - the effect reference is 67 deep and every slider can be driven by the track.
Put the wild stuff in a group and keep it switched off for most of the track - Data Mosh, Hard Glitch, Pixel Sort, Slit Scan - then let the drop fire it.
Use the Media effect to load in abstract geometric loops over the base layer. Use a WEBM with alpha, or set Blend Mode to additive and the black drops out on its own.
Making everything audio-reactive is easy. The problem is that when everything moves at once, nothing stands out and the frame just churns. Use a light touch by switching out effects over time and by pulling Min and Max into a narrow range so the parameter moves a little rather than slamming end to end.
Have Fun!
Above all, have fun with it. Hit the Mosh button to turn up combinations you would never reach on purpose - lock the parts you want to keep, then mosh the rest.
If you need inspiration, check out the #share-your-creations channel on our Discord, and these audio-reactive examples by flashmemories.